Parking lot line painting follows one sequence on every lot, so the plan is settled before paint touches asphalt. Damp pavement or a hard freeze pushes the work to the next suitable day.
1. Free Estimate and Lot Walk
Call the office and describe the property, and the crew picks a time to walk it with you. They count the stalls, study the old lines and press on the pavement beneath them. The free written estimate names each marking and the coats planned, so a board or manager can set it beside any competing bid.
2. Layout and Chalk Lines
Tapes and chalk come first, and the crew marks every line from your plan before spraying anything. Stall depth and aisle width are measured against the lot’s real edges, not only the drawing. Every ADA stall, aisle and fire lane gets checked against the standard as the chalk goes down. Walk the layout alongside the painters and ask for changes, because shifting a chalk line costs nothing at this point.
3. Cleaning and Crack Repair
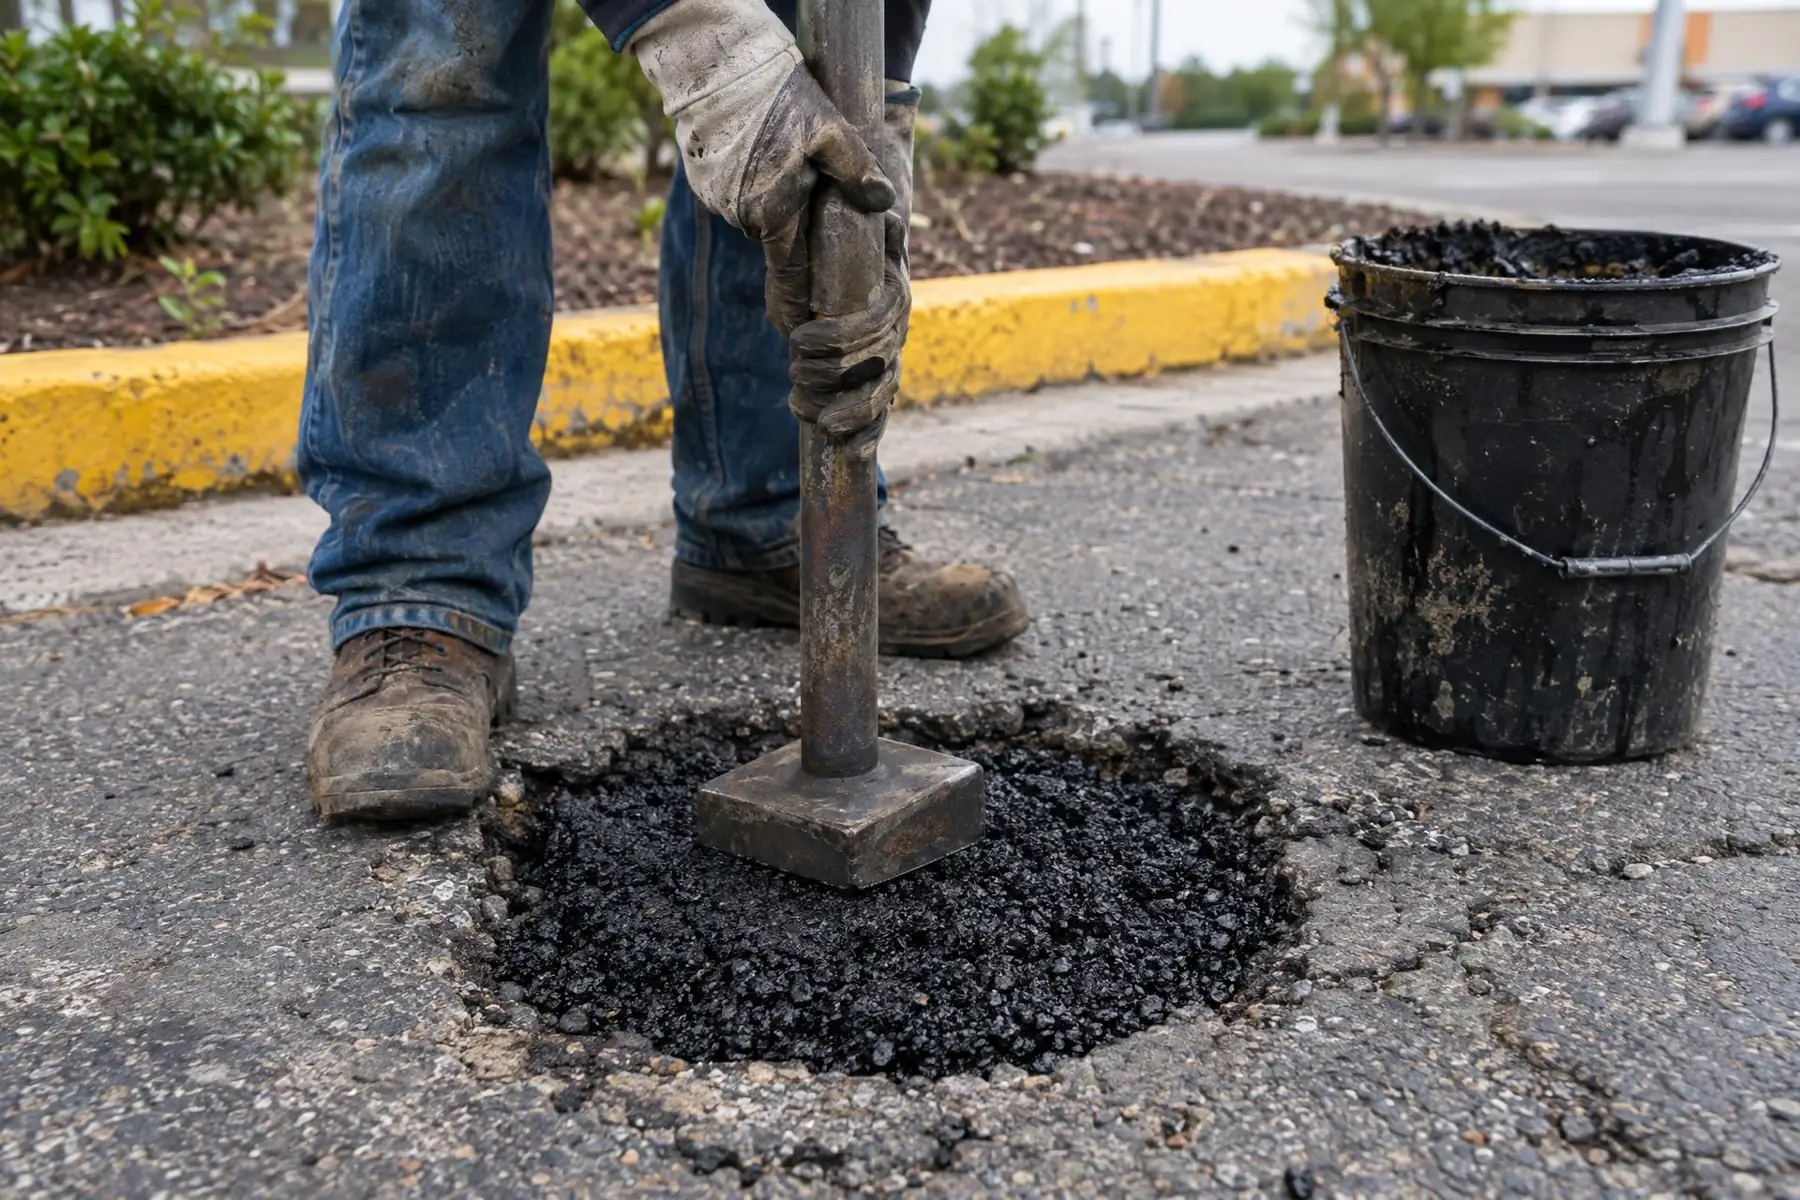
Brooms and blowers sweep the surface, and any paint already lifting is scraped away so new coats do not peel with it. Open cracks get filled and shallow potholes patched ahead of the paint. Paint holds only on sound, clean asphalt, so a lot with failed sections gets repaired first, and the crew explains why that saves money later.
4. Painting the Lines
A striping machine rolls down each row laying stalls at the planned width and angle, and stencils handle arrows, symbols and numbers. The crew works section by section and sets cones around wet paint so no tire crosses a fresh line. Heavy-use lots receive a second coat when the estimate calls for it, which leaves a thicker, longer-lasting mark.
5. Drying and Walk-Through
Fresh paint needs time to dry before any tire touches it, and the crew announces when each section opens again. Since the lot is painted in pieces, the remaining stalls stay in service throughout the job. The crew finishes by walking the whole layout with you, and the written warranty is handed over before the trucks leave.